Company Admin Quick Start Guide
UPDATED: 12/27/23
Download the guide here.
Customer Portal Overview
Our online customer portal account is our all-in-one solution for your business needs. Browse our extensive catalog, see pricing and real-time stock, and place and manage orders.
Pay invoices, manage company users, create requisition lists, and update your address book anytime and anywhere.

Registration
As a company admin, you must set up your account before adding company users
Fill out and submit the form.
You’ll receive an email to verify and set up a password for your account.
NOTE: You won’t be able to log in until you receive an email stating “Your company account is active.”Click the verification link in the email.
Set your password.
Logging In
Even if you have an existing SES account, you won’t be able to login with your credentials from our old ecommerce website. You must register for a customer portal account.
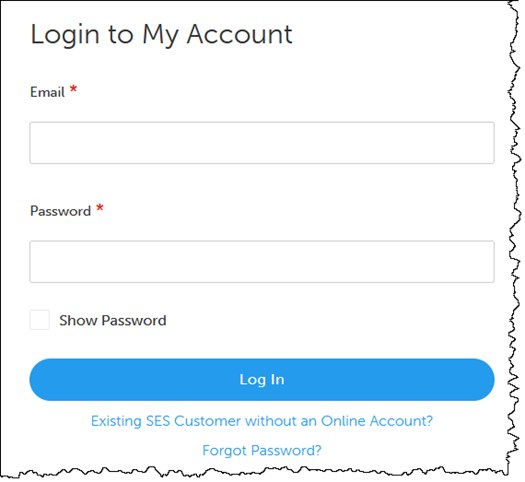
Go to https://sesonline.com.
In the header, click Log In.
Mobile users: Tap the account icon.Enter your username and password.
Click Log In.
Resetting Your Password
Click Forgot Password on the login page.
Enter the email associated with your account.
Click Reset My Password.
You’ll receive an email to reset your password from SES Customer Support.
Follow the instructions in the email to set a new password.
You’ll receive an email confirmation after you’ve changed and confirmed your password.
Managing Company Users
Only company admins can manage users.
Deleting users is permanent and can’t be undone.
Inactivating users temporarily locks the account.
Go to your Account Dashboard.
In the sidebar, go to Company Users.
To see your active users and inactive users: Toggle between Show All Users and Show Inactive Users.
To add users:
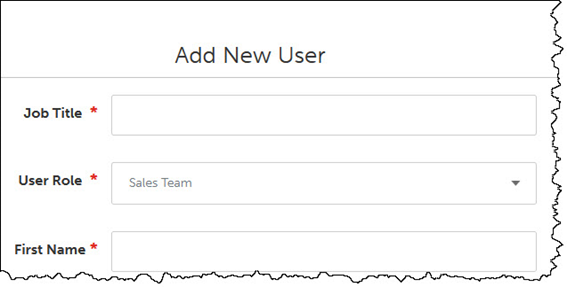
Click Add New User.
Enter the new user’s information.
Click Save.
The new user will receive an email from SES to set up their account.
To delete or deactivate users:
In the list, select Delete for the appropriate user.
Select Delete or Set Inactive.
Searching for Products
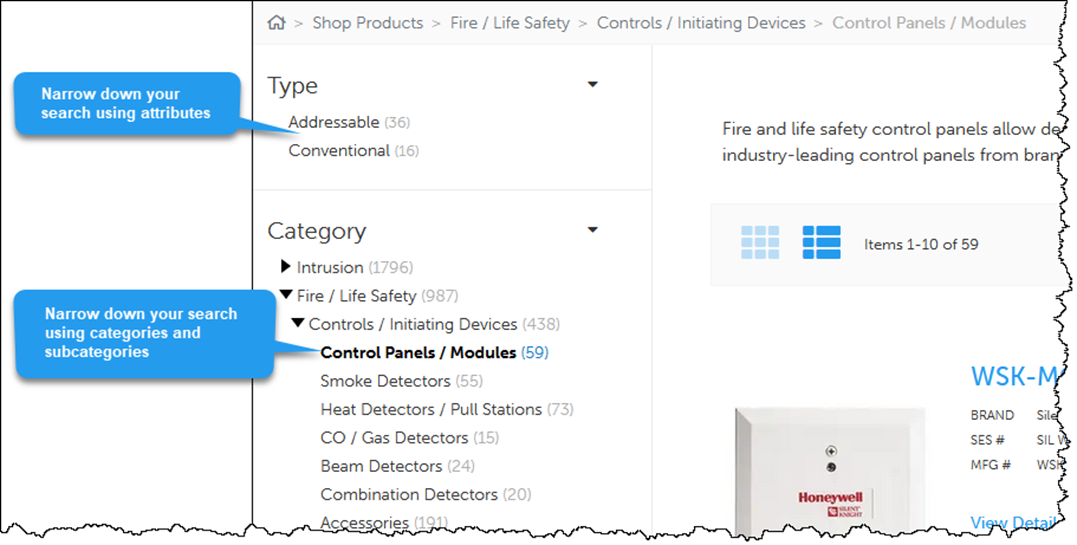
Search by product categories and subcategories:
Hover over Shop Products to drill down by categories and subcategories.

To narrow down your search on a product listing page, use the sidebar to filter by subcategories
and product attributes.
Search by brand:
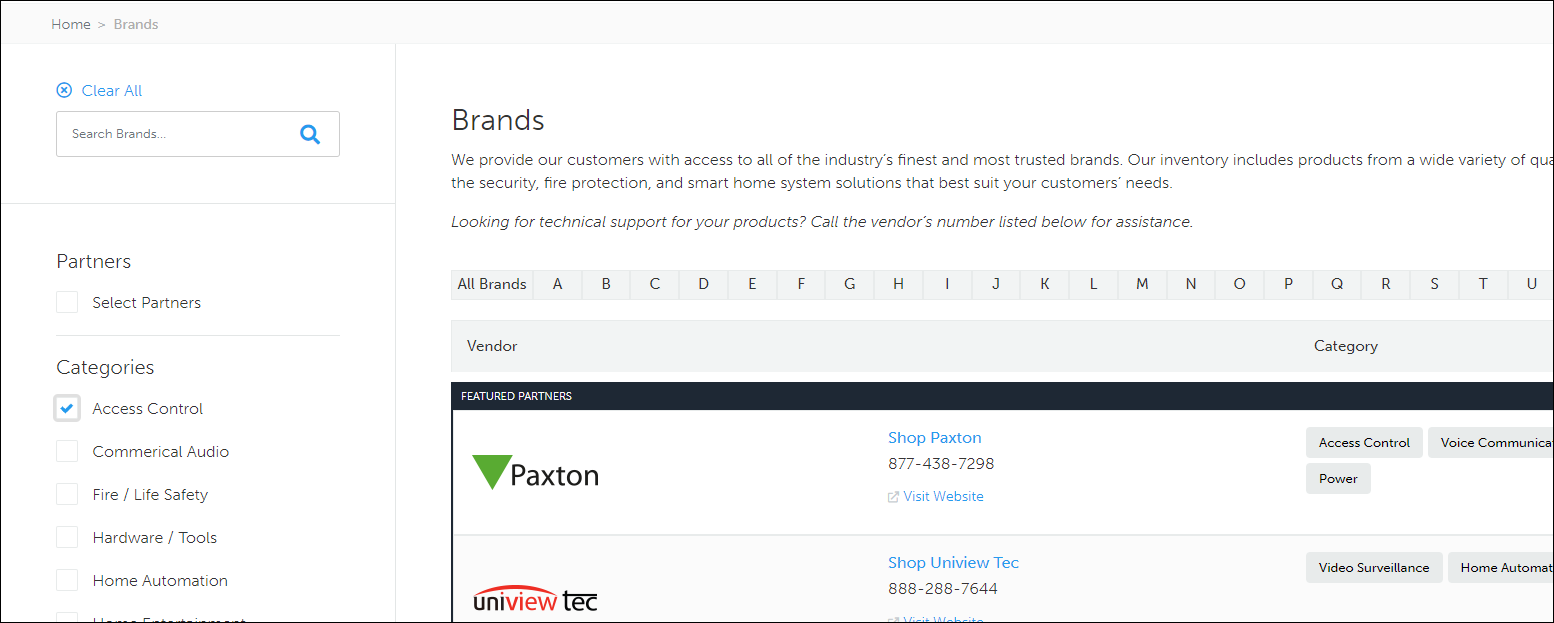
Hover over Brands to select a brand from the dropdown list. To see all brands, click All Brands.
On the Brands page, you can:
Search for a brand.
Browse the list alphabetically by selecting a letter.
Select categories to narrow down your search.
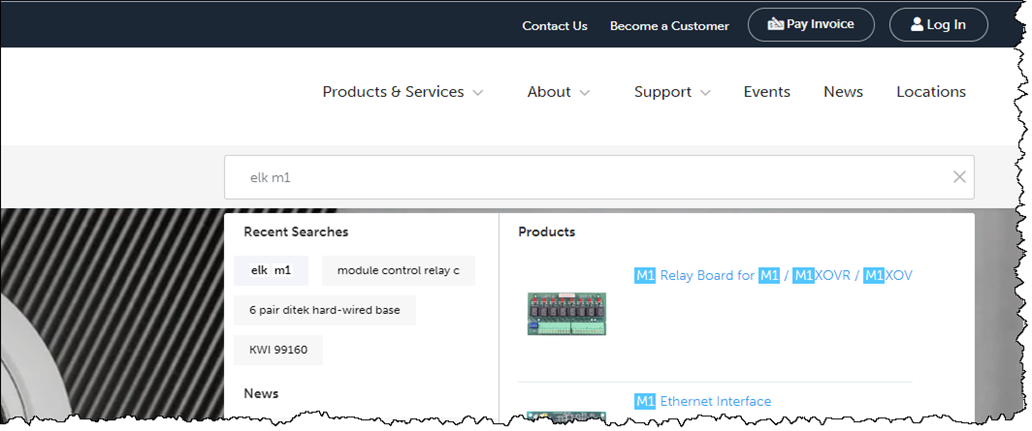
Search by item keywords or numbers
If you’re uncertain of the exact brand and model of the product you’re searching for, entering an item keyword can help you browse relevant products.
If you’re searching for a specific item, enter the item number.
Immediate search results will show relevant products, categories, and product suggestions, and recent and popular searches.
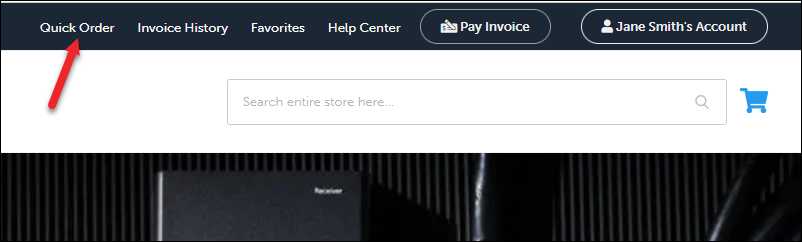
Placing Quick Orders
When logged in, click Quick Order in the header.
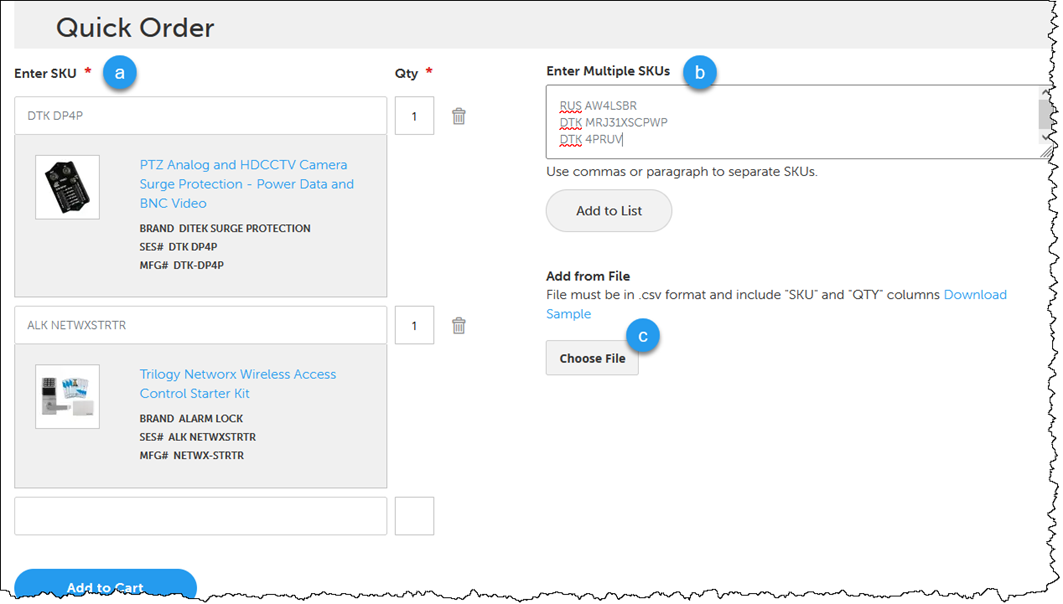
There are three ways to enter your order. Choose the method that best suits your needs.
Enter SKUs (item number or “SES numbers”) and their quantities.
Entering multiple items at once: Enter SKUs (separated by commas or paragraphs) into the textbox on the right.
Uploading SKUs by CSV file: Choose and upload a CSV file containing SKUs and quantities.
Click Add to Cart.
Requisition Lists
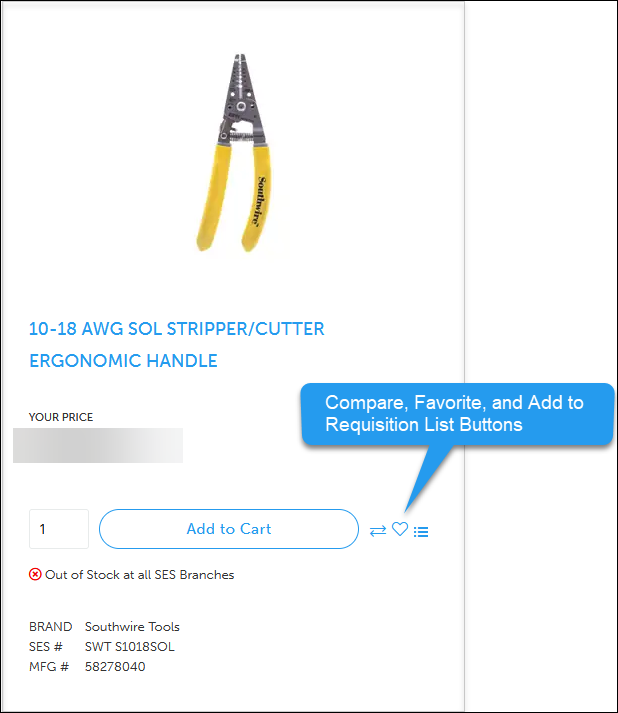
Adding Items to Requisition Lists from Product Pages
On product pages, click Add to Requisition List.
Add the item to an existing list or click Create New List.
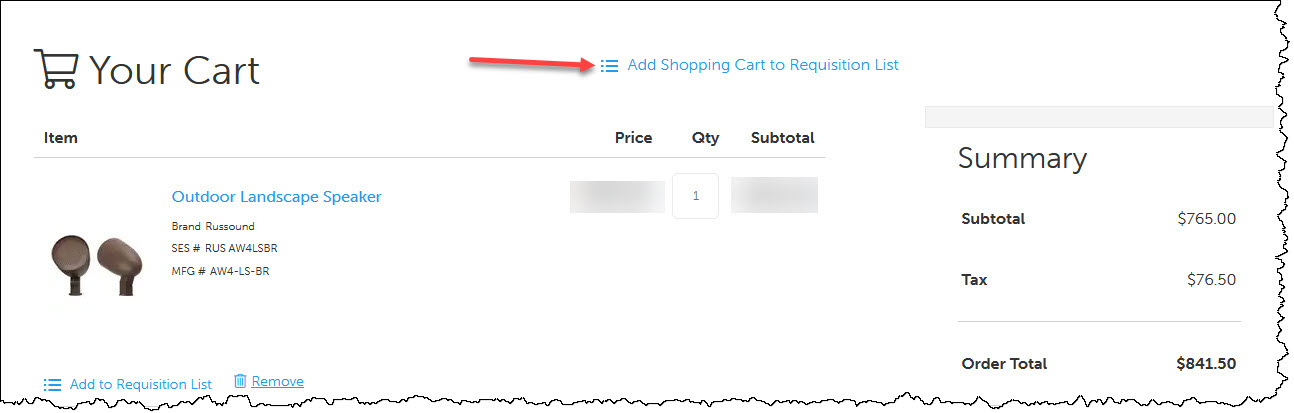
Adding Items to Requisition Lists from Your Cart
Click your cart. Then, click View & Edit Cart.
Click Add Shopping Cart to Requisition List.
Select an existing list or click Create New List.
Viewing Your Requisition Lists
When logged in, click your account button.
In the dropdown, select My Requisition List.
Click View on the list you want to see.

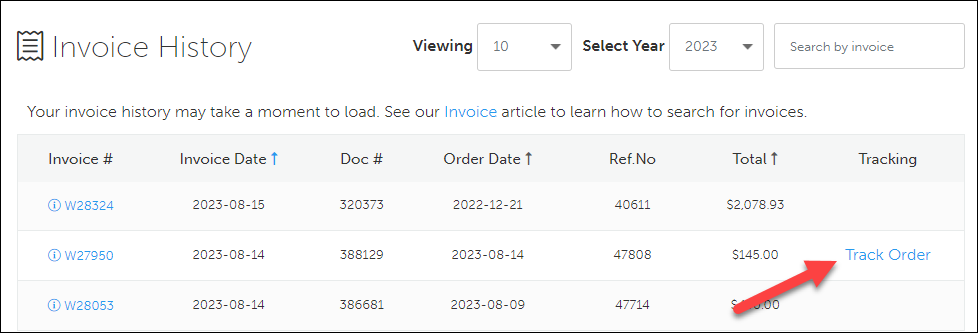
Tracking Orders
When logged in, click your account button.
In the dropdown, select Invoice History.
Click on any blue Track Order link.
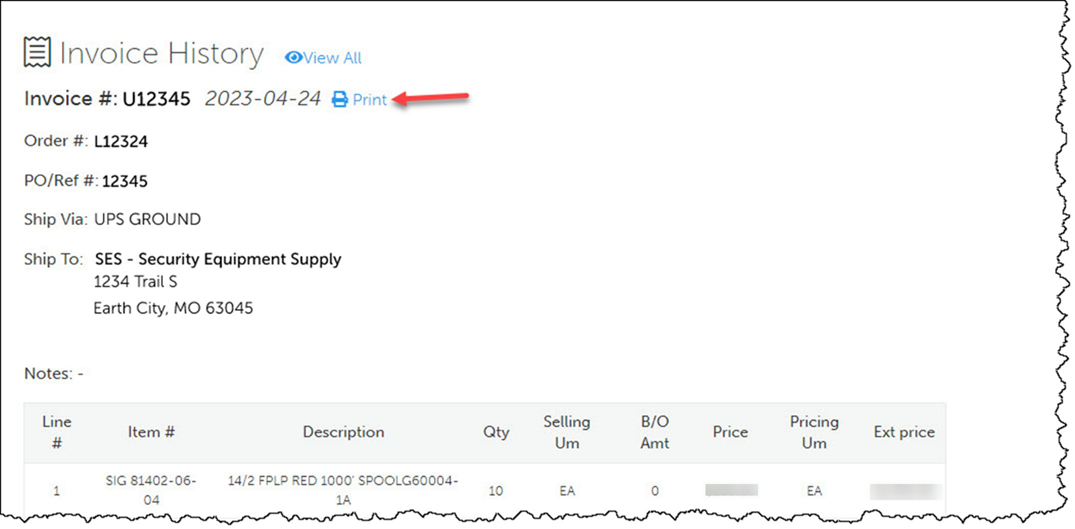
Printing Invoices
When logged in, click your account button.
In the dropdown, select Invoice History.
There are two ways to print invoices:
Click Print on the appropriate invoice in the list view.
Select an invoice and then click Print on the details page.
On the invoice details page, click Print.
Related
https://help.sesonline.com/hc/set-up-my-customer-portal-account
https://help.sesonline.com/hc/manage-company-users